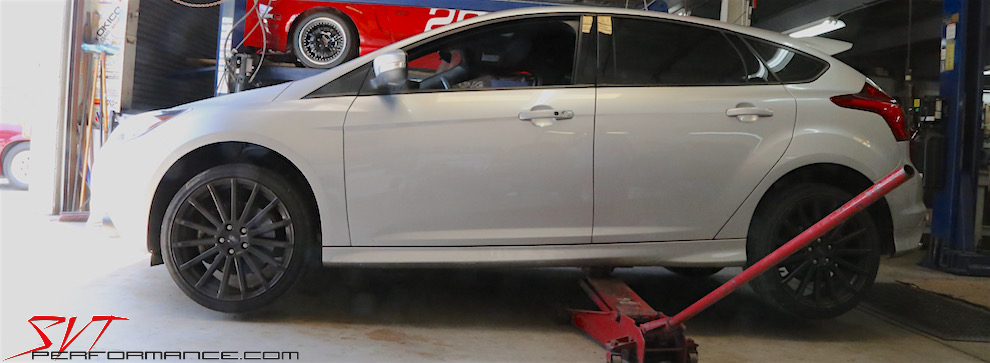
On Rails
Installing Steeda's lightweight jacking rails for the latest Ford Focus
By Steve Turner
Photos courtesy of Steeda Autosports
If you perform your own maintenance or modifications, chances are you are going to need to put a floor jack under your car. With modern cars it can be a challenge to find the right jacking point to avoid damaging the underside of your ride. Thanks to Steeda Autosports, however, owners of 2013 and newer Foci can now lift their rides from any spot along the side using the company's new Jacking Rails (PN 555-5206; $139.95).
"These allow you to jack up your Focus with confidence anywhere along the jacking rail, preventing damage to your factory pinch welds," Steeda says. "They provide a great point for jack stands and two-post lifts..."
These bolt-on rails are built right at Steeda's Valdosta, Georgia, facility and they will not damage the factory pinch welds. Better yet they won't add a bunch of weight to your Focus.
"The team at Steeda was asked to come up with a lightweight Jacking Rail system that didn't add a bunch of weight to your 2013+ Focus and Focus ST," Steeda says. "Made in-house from the same material we have used for the 2015+ Mustangs jacking rails. These Jacking Rails feature CAD-designed, laser-cut, high-strength steel brackets and stout 2x1-inch steel tubing."
We dropped by Steeda's Pompano Beach facility to see how these handy parts bolt-on to our own 2013 Focus ST project car.
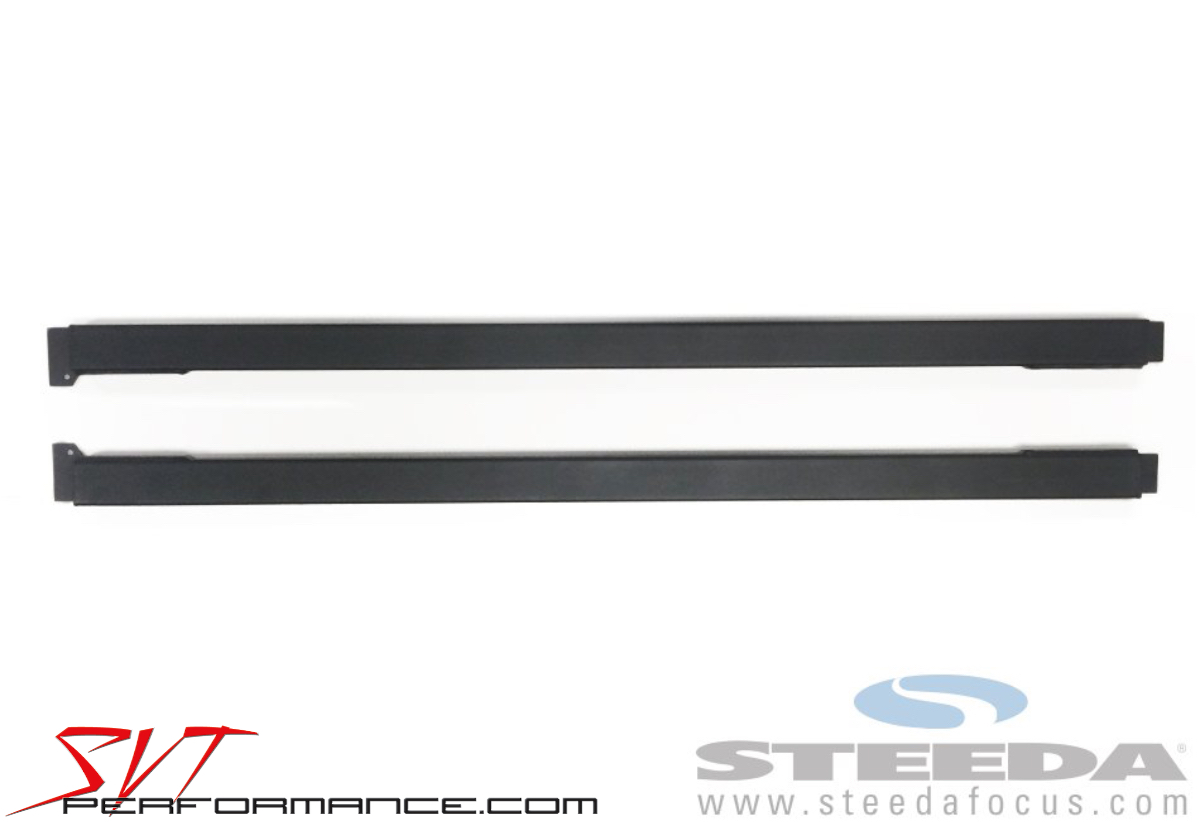
Make it easier to service your 2013+ Focus or Focus ST with Steeda Autosports' new Jacking Rails (PN 555-5206; $139.95). Initially these were weld-in parts, but the company has just released a bolt-in version, so we took the trip to Pompano Beach to see how they install on our 2013 Focus ST project car. Steeda also offers jacking rails for 2015+ Mustang convertibles and coupes.
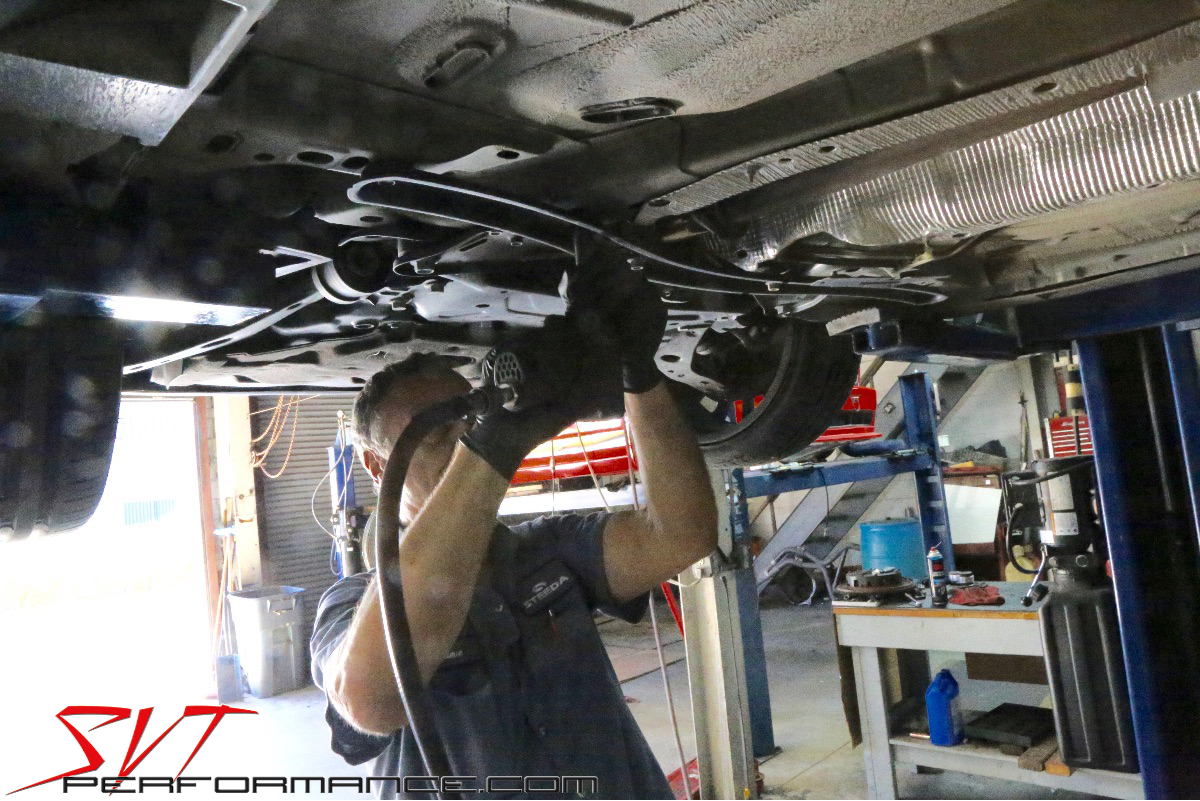
Steeda technician Steve Chichisola starts by loosening this factory brace to gain access to the natural holes in the factory floorpan.
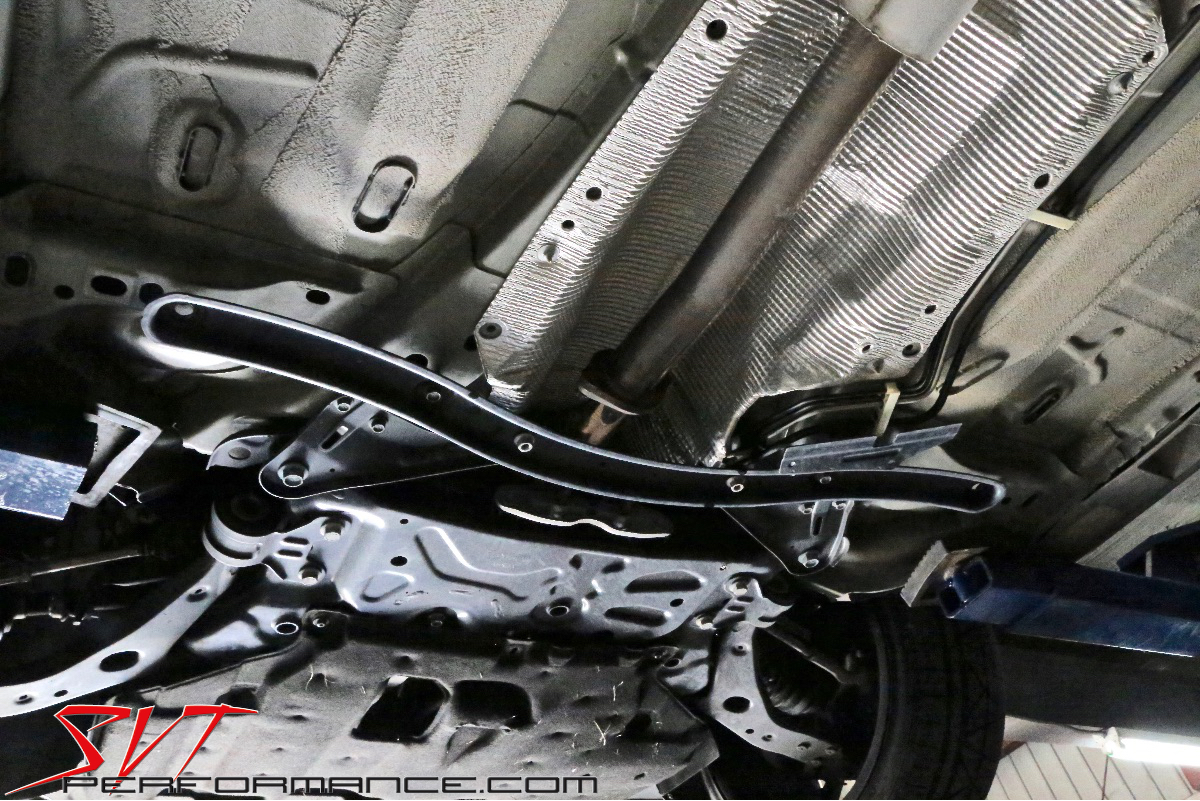
Simply remove the two outboard bolts and loosen the too inner bolts so the brace hangs out of the way.
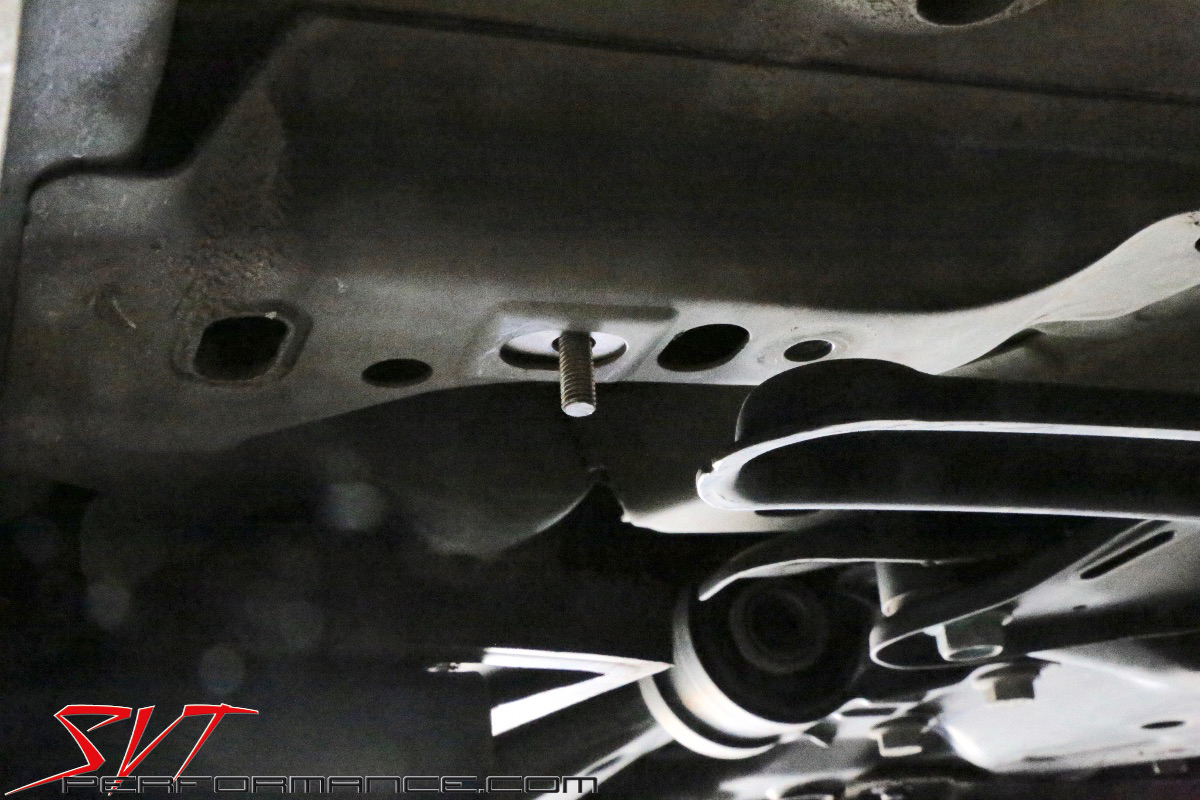
With the factory brace out of the way you fish this stud into the existing hole on the Focus floor pan to provide and additional mounting point for the Steeda jacking rail.
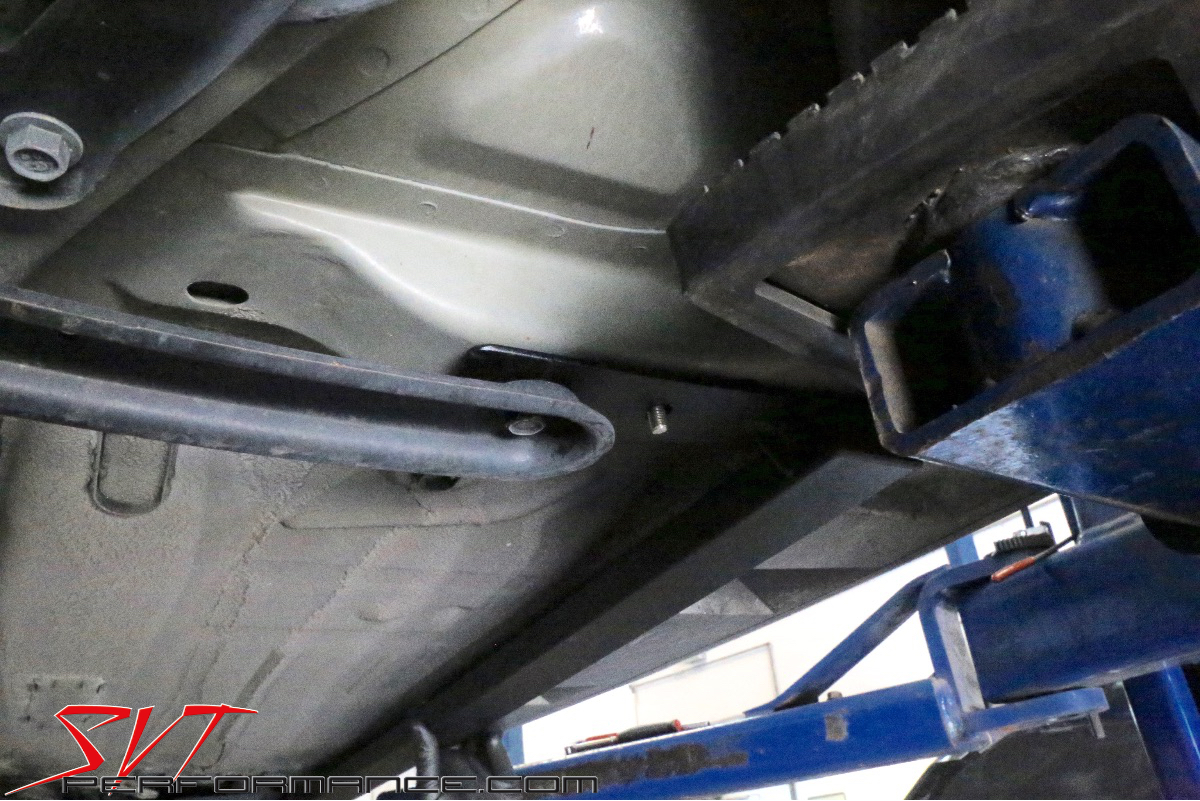
Steve slipped the rail into place over the stud to center it. As you can see it uses both the new stud and the existing brace's fastener to secure its front mounting.

Steve removes the fastener from this underbody deflector at the rear of the car to gain access to the floorpan.
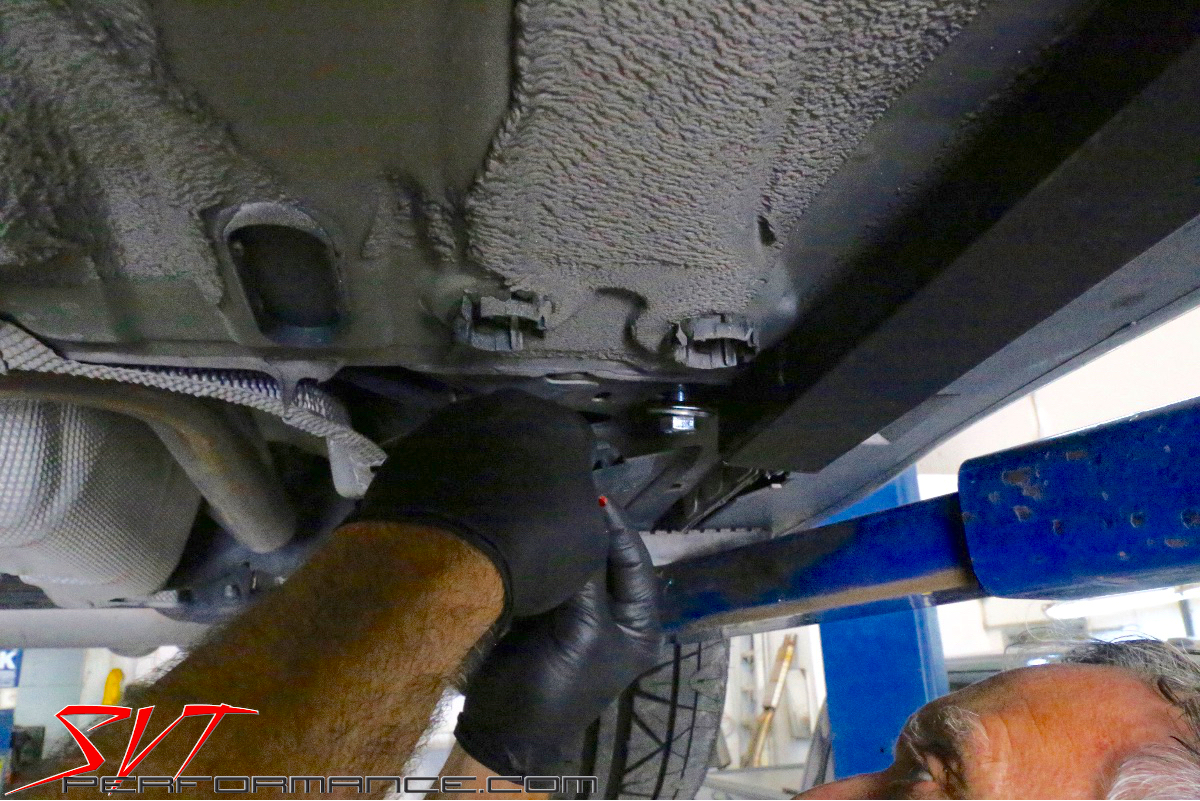
He then slips a nut into the floor pan, lines up the rear of the jacking rail and installs the attachment bolt.

Then Steve tightens the rear of the driver-side rail and reinstalls the plastic deflector's bolt.
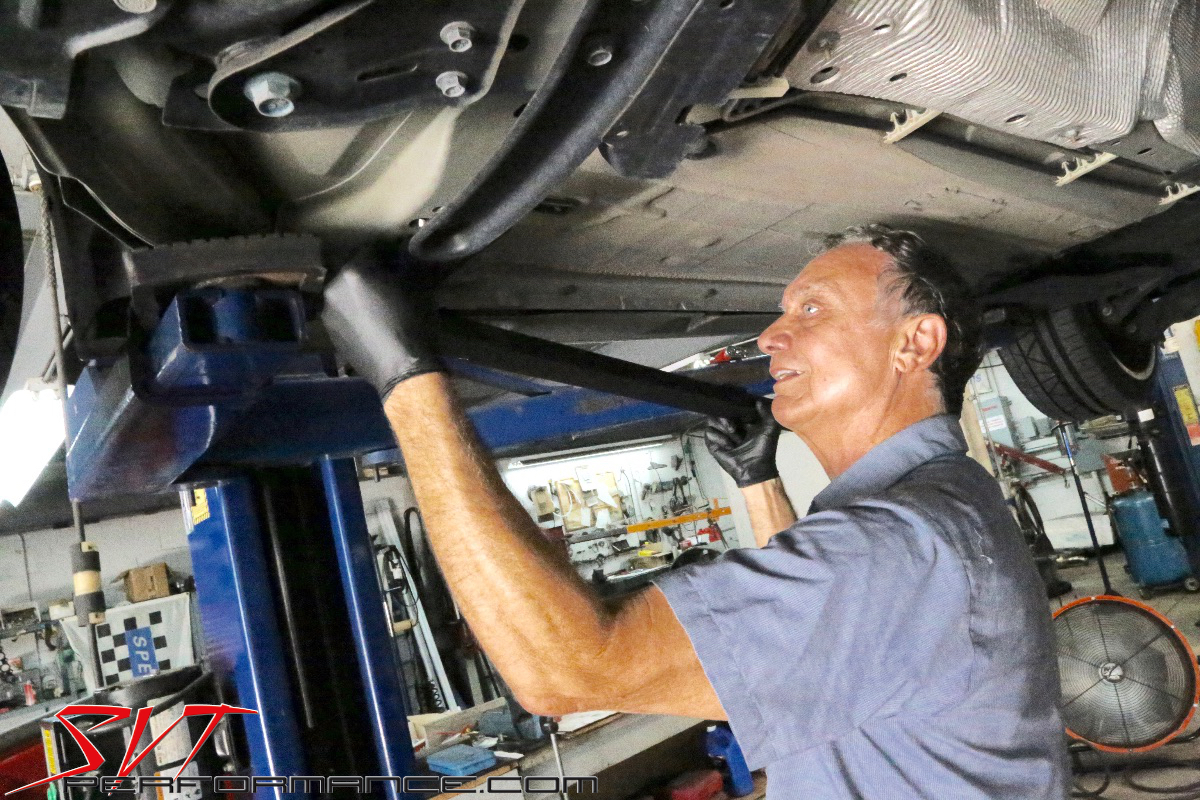
The process is much the same on the other side. Steve installs the front stud and loosely bolts up the front of the rail.
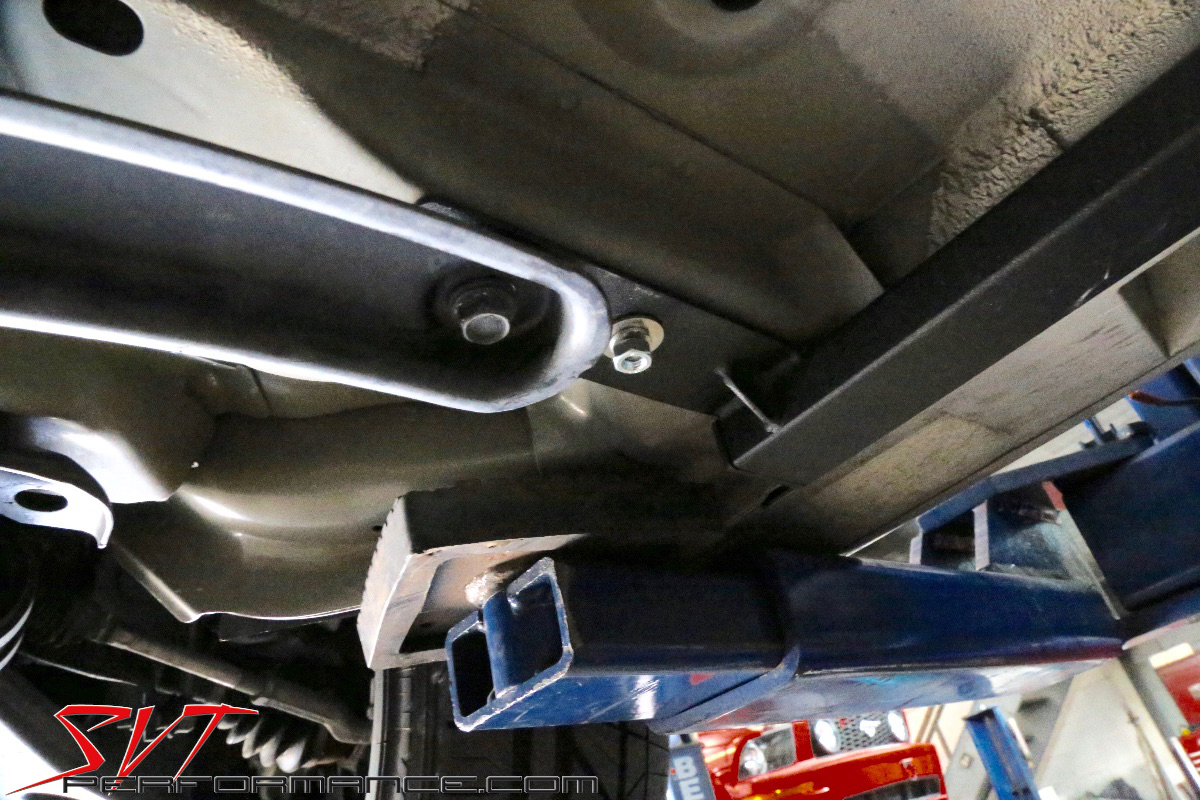
Here's a look at the two attachment points at the front of the rail before Steve tightens them for good.
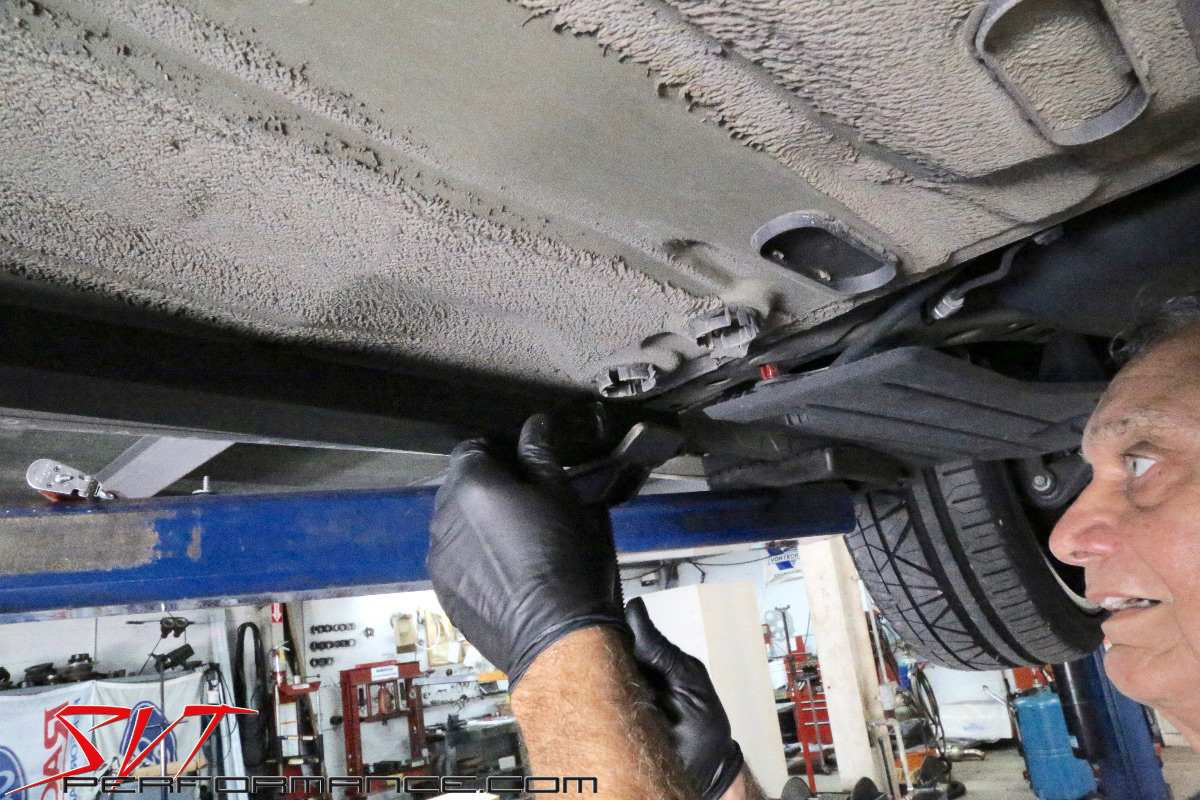
Out back he slips nut into the floor pan and bolts up the rear of the rail.
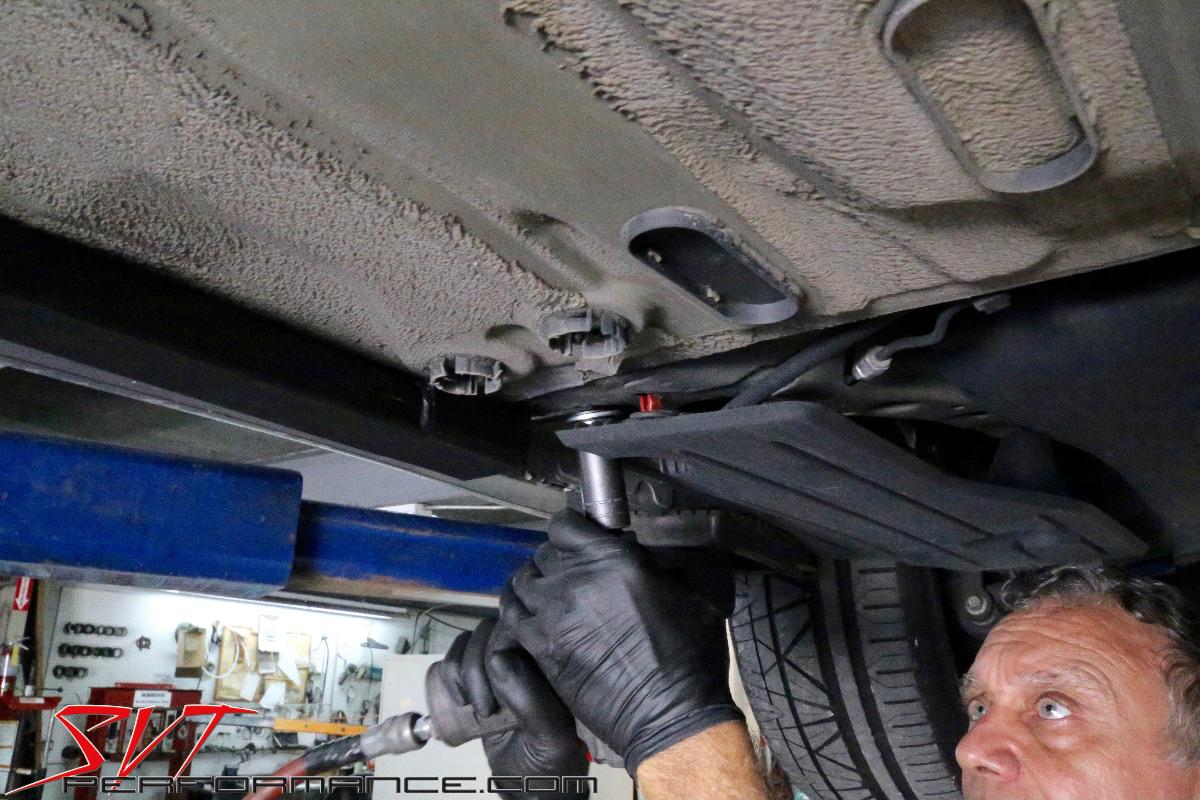
With the front and rear of the rail loosely installed, Steve can now tighten everything for good.
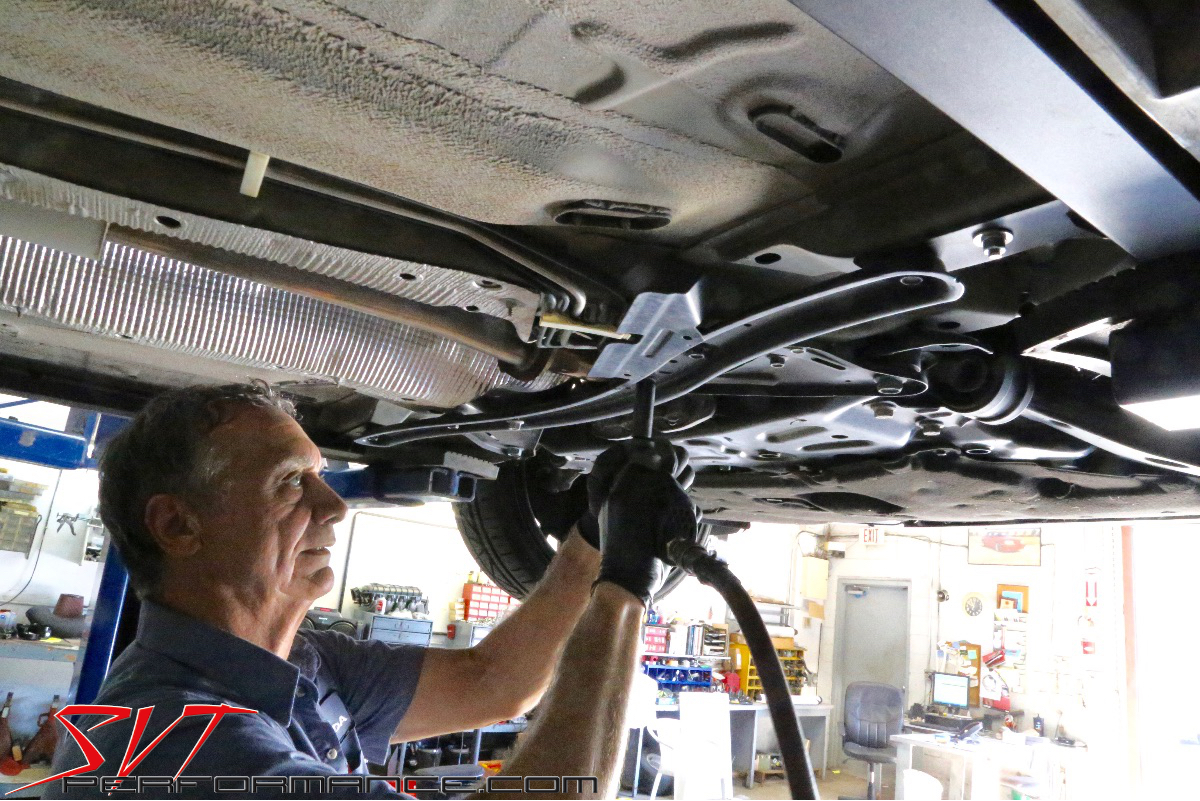
Up front he tightens the factory brace and the new rail fasteners to complete the installation.

Here's a look at the completed Steeda jacking rail installation. Now when we need to rotate tires or do other maintenance, it will be much easier to jack the car up without the chance of damaging the floorpan.
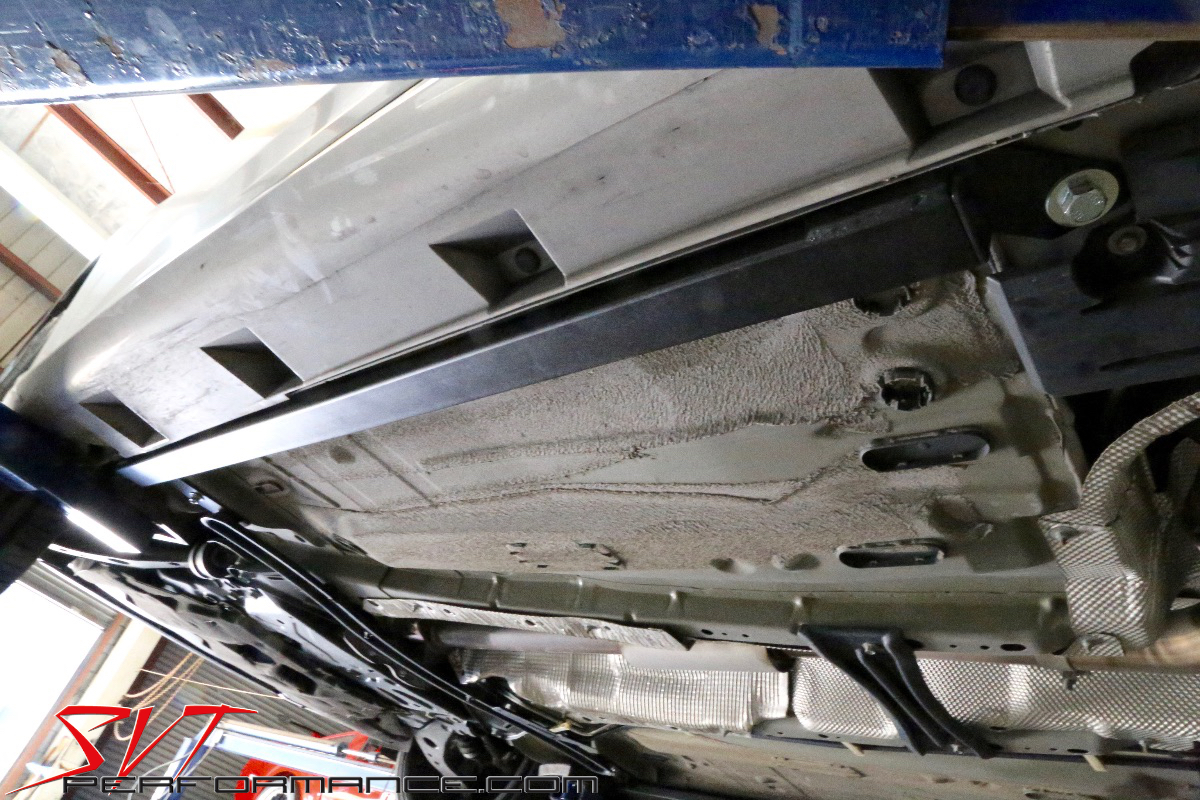
Here's a closer look at the installed Steeda rails. They fit the Focus chassis like a glove and provide much wider range of jacking points.

While you won't be in danger of damaging the floorpan with your jack, you also don't want to mar the powdercoated finish on the Steeda jacking rails. As such, use a rubber pad or a simple piece of cardboard to prevent metal-on-metal abrasions.

You can jack the car up from any spot along the rail, but this location just after the front tires seems to be about the best balance point the gets both tires off the ground with the fewest pumps of the jack.

